Table of contents
No headings in the article.
In this tutorial, we will learn how to use RapidAPI in Flutter. RapidAPI is a platform that allows developers to easily access data and API services and integrate them into their own applications. Using RapidAPI can greatly simplify the development process and reduce the amount of code that developers need to write. This tutorial will cover how to use RapidAPI to access external API services and handle responses. Before starting this tutorial, you should have some basic knowledge of Flutter and Dart.
here is RapidAPI link:https://rapidapi.com/hub


This screenshot shows RapidAPI's introduction to the API. The API documentation is an important resource that provides information on how to use the API, including available endpoints, supported parameters, and data formats returned. Here, you can see the endpoints and request methods of this API, which are the basic components of an API.
The screenshot also provides examples of how to use the API in different programming languages, meaning that users can use the API in their preferred programming language. When users need to call the API in their own applications, they can refer to these examples to ensure that their code is correct. Additionally, the API response example is also very useful as it can help users understand the data format returned by the API and better handle that data.
The example using Curl is recommended as it better illustrates the overall structure of the API.
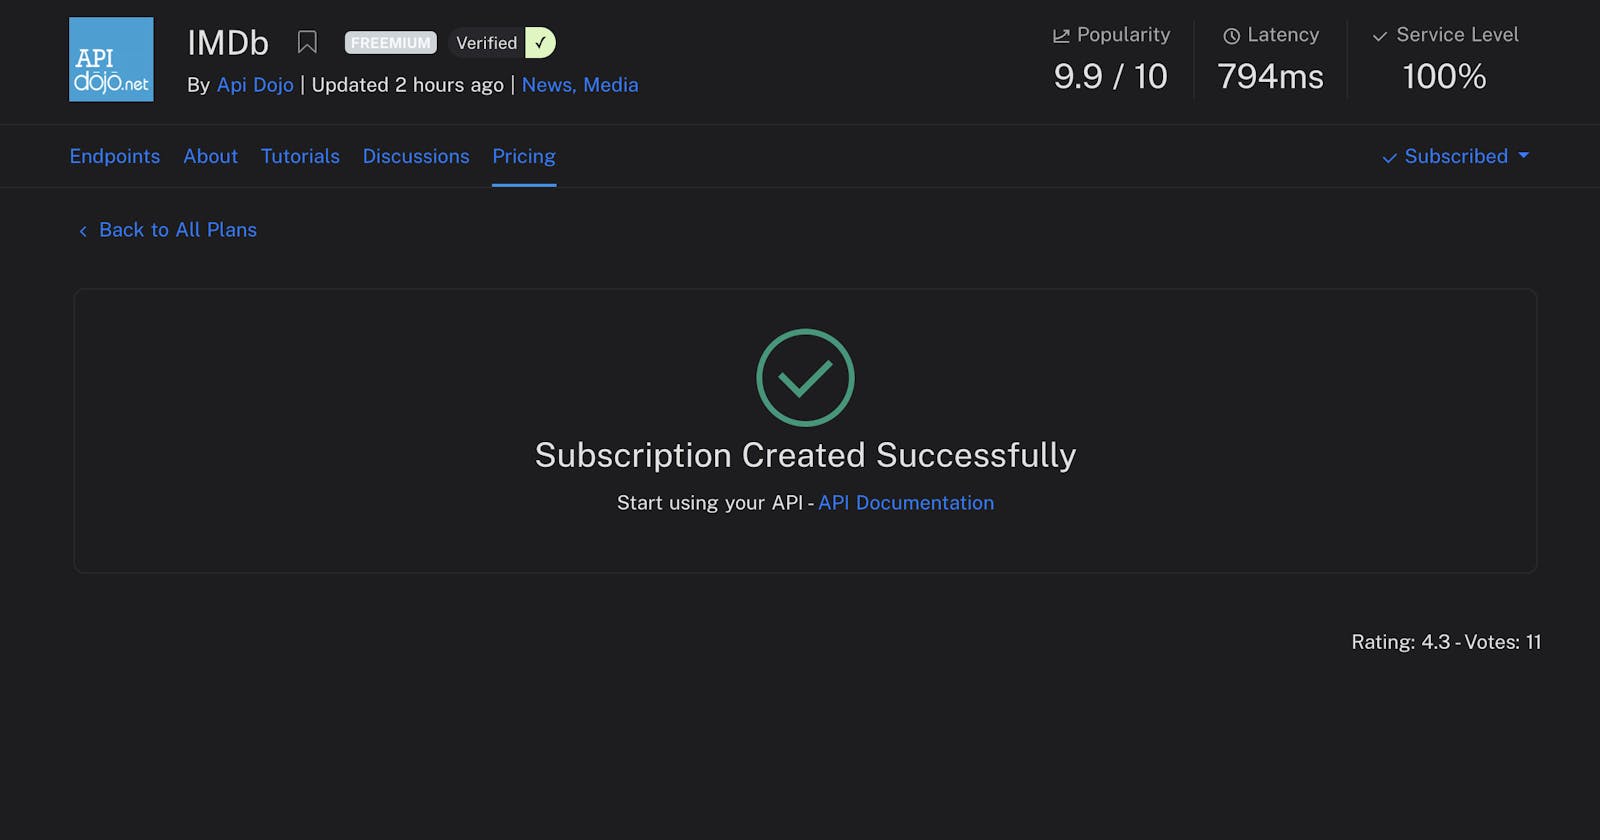
The second screenshot shows that you have successfully subscribed to the API and selected the free plan. Before subscribing to the API, you need to choose a plan. RapidAPI offers multiple plans to meet the needs of different users.

The following code will use the Yahoo Finance API.
class ApiProvider {
  static final Dio _dio = Dio(BaseOptions(
    baseUrl: "https://apidojo-yahoo-finance-v1.p.rapidapi.com/"
  ));


 static Future<dynamic> post(
      String path, {
        required Map<String, dynamic> body,
        required Map<String, dynamic> headers,
      }) async {
    try {
      final response = await _dio.post(
        path,
        data: jsonEncode(body),
        options: Options(headers: headers),
      );
      logger.d(response.data);
      return response.data;
    } on DioError catch (e) {
      logger.e(e);
      if (e.response != null) {
        throw ApiException(e.toString(), e.response!.statusCode!);
      } else {
        throw ApiException(e.toString(), 500);
      }
    }
  }


  static void _handleError(error) {

    if (error is DioError) {
      switch (error.type) {
        case DioErrorType.connectionTimeout:
        case DioErrorType.sendTimeout:
        case DioErrorType.receiveTimeout:
        // Handle timeout error
          break;
        case DioErrorType.badResponse:
        // Handle HTTP response errors
          break;
        case DioErrorType.cancel:
        // Handle request cancellation
          break;
        case DioErrorType.badCertificate:
        // Handle other Dio errors
          break;
      }
    } else {
      // Handle non-Dio errors
    }
  }
}
This code creates a class called ApiProvider, which contains a static method called post. This method requires some necessary parameters such as the path, request body, and headers. These parameters will be used to send a POST request to the specified API endpoint.
In this part, we use the Dio library to send the request. First, we set a base URL for all subsequent requests. Then, we pass the request body and headers as parameters to the post method. We use async and await to handle asynchronous operations. We convert the body to a JSON string and set the request headers using the options parameter. Finally, we use the Dio to retrieve the response of the request. If the request is successful, we return the response data; otherwise, we throw an ApiException exception.
In addition to the post method, we define a private method called _handleError to handle exceptions. It can check the type of the exception, such as connection timeout, response error, etc., and take appropriate measures.
class ViewModel  {
   Future<NewsData> getNewsList() async {
     final data =  await ApiProvider.post("news/v2/list?region=US&snippetCount=28", body: {}, headers: {
       "X-RapidAPI-Host": "123456",
       "X-RapidAPI-Key": "123456",
       "content-type": "text/plain"
     });
      return  NewsData.fromJson(data);
   }
}
This code defines a ViewModel class that includes an asynchronous method called getNewsList. This method sends a POST request to the specified API endpoint "news/v2/list?region=US&snippetCount=28" with the appropriate headers and an empty body to retrieve data about news.
After receiving a response from the API, the returned JSON data is converted to a NewsData object using NewsData.fromJson and then returned. In this code, "123456" represents the API key required for the request and should be replaced with a valid API key.

Thank you very much for reading this tutorial. I hope this article has provided you with useful information to help you use RapidAPI in your Flutter applications. With these APIs, you can easily connect to external data sources and expand the functionality and content of your applications. Finally, I hope this simple tutorial has been helpful to you. Thank you for reading!
